AutoEntry allows you to upload your receipts or invoices through the website, e-mail, or mobile app. Before you start, it is essential to bear in mind that AutoEntry only accepts documents in PDF, JPEG, TIFF, or XLSX/DOC file formats.
This article explains what to do in each case.
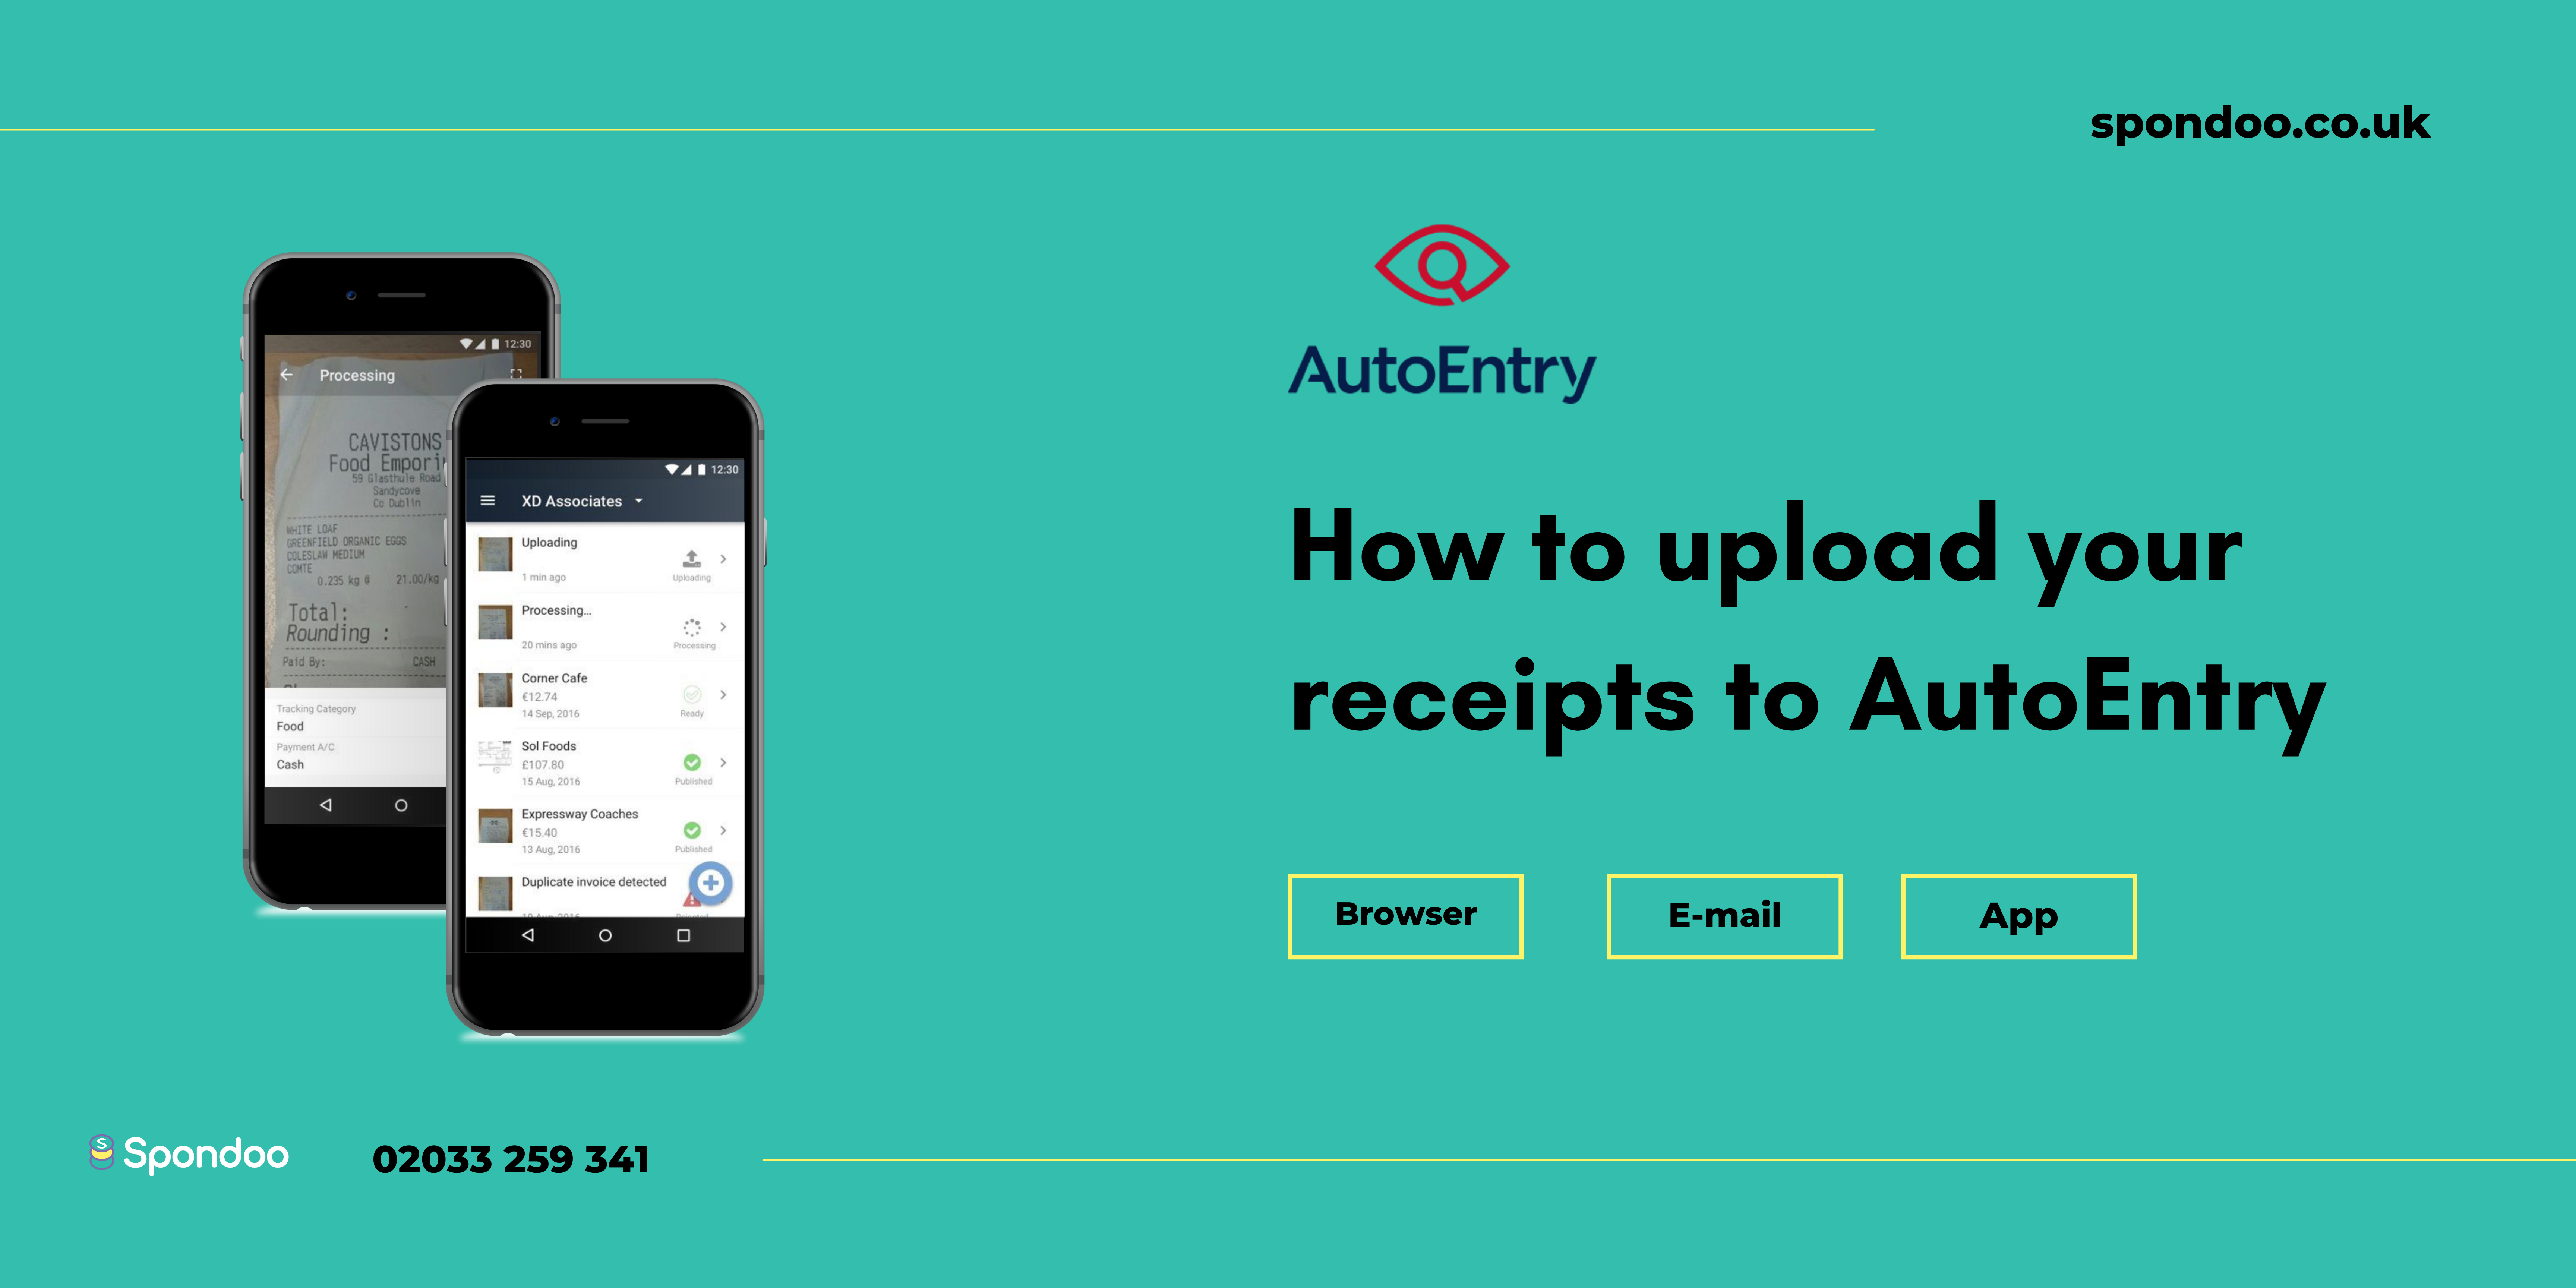
How to upload receipts and invoices to Autoentry via the web browser
To upload your receipts or invoices:
- Log into AutoEntry
- AutoEntry has two folders to which you can upload invoices: The purchases/Bills folder and the Sales folder.
- Select the Purchase/Bills folder.
- Click on the +Upload button.
- An ‘Add Items’ window will appear with multiple options on how you can upload your receipt.
- You can do either of the two:
- Drag and drop your receipts in the window.
- Browse through your computer (or whichever device you are using) and select documents to upload.
How to upload receipts and invoices to Autoentry via e-mail
When you sign up for AutoEntry - you will get four unique e-mails set up for the Expense Reports, Supplier Statements, Sales and the Purchases folders.
To upload your receipts and invoices via e-mail, send the files to your assigned purchases e-mail.
How to upload receipts and invoices to AutoEntry via the app
To upload your receipts and invoices via the app:
- Start the AutoEntry app on your phone.
- Navigate to the Purchases folder.
- Snap or scan your receipt
- Assign your image a category.
- Press the upload button.
To know if your receipt has been uploaded:
- Head on to the Activity tab in AutoEntry. It will give you a summary of the items that you have uploaded.
- You will see a notification banner in your Purchases inbox confirming that the receipt has been uploaded successfully – and is being scanned by AutoEntry.
If you haven’t got access to your AutoEntry account, please contact your Spondoo Bookkeeper.